
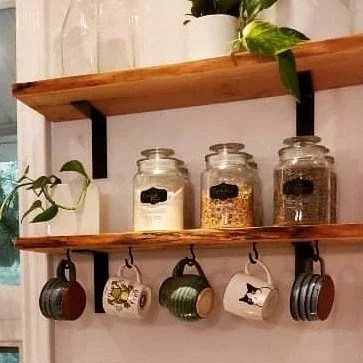
L brackets.
TOOLS REQUIRED
- 24” level (anything bigger then 16” is fine)
- handheld drill
- drill bits
- measuring tape
- pencil
- stud finder
DETAILS
These L brackets are made from cold rolled steel. A pair of L angle shelf brackets will hold up to 110 lbs when mounted to studs or a brick wall.
READ ALL THE STEPS BEFORE YOU BEGIN.


STEP 1
Locate and mark the studs on the wall. They will be 1.5” wide and 3.5” deep (despite being called 2x4s).
The studs will be 16” apart (from center to center). Typically you can find them next to electrical sockets.
STEP 2
Using an L bracket, mark the holes on the wall in pencil with the bracket ledge facing up or down. Use a level to ensure your bracket is horizontal.
STEP 3
Pre-drill the holes into the wall before adding a screw.
STEP 4
Hold bracket in place and with your drill add screws into the holes.
STEP 5
Take your additional L bracket(s) and place them over the next stud (16” apart usually) and mark the holes.
STEP 6
Repeat the same steps for adding holes and screws. Be sure to use a level on the first bracket to the next to make sure you remain on a horizontal path.
Once you have 2 brackets installed you can test your shelf out and check that everything is flat and level before adding additional brackets.
STEP 7
Once you have all brackets added you can then lay the shelf in place and centre it between your brackets. Or align it to whatever suits your space best.
Then hold the shelf in place and pre-drill one of the holes. Using the smaller screws provided add the first one. Once that is in place you can pre-drill the next hole and add the next screw, giving you one secured L bracket. This will hold everything in place as you repeat this process for the remaining brackets.
STEP 8
Time to decorate! The strongest points will be where the brackets are closer to the wall. so for a heavy object be sure to use the strength of the stud for support.